DIY Pumpkin Placemats
I’ve been wanting to add a little more seasonal charm to our table, and these two-sided pumpkin placemats might be one of my favorite DIYs yet! 🍂🎃
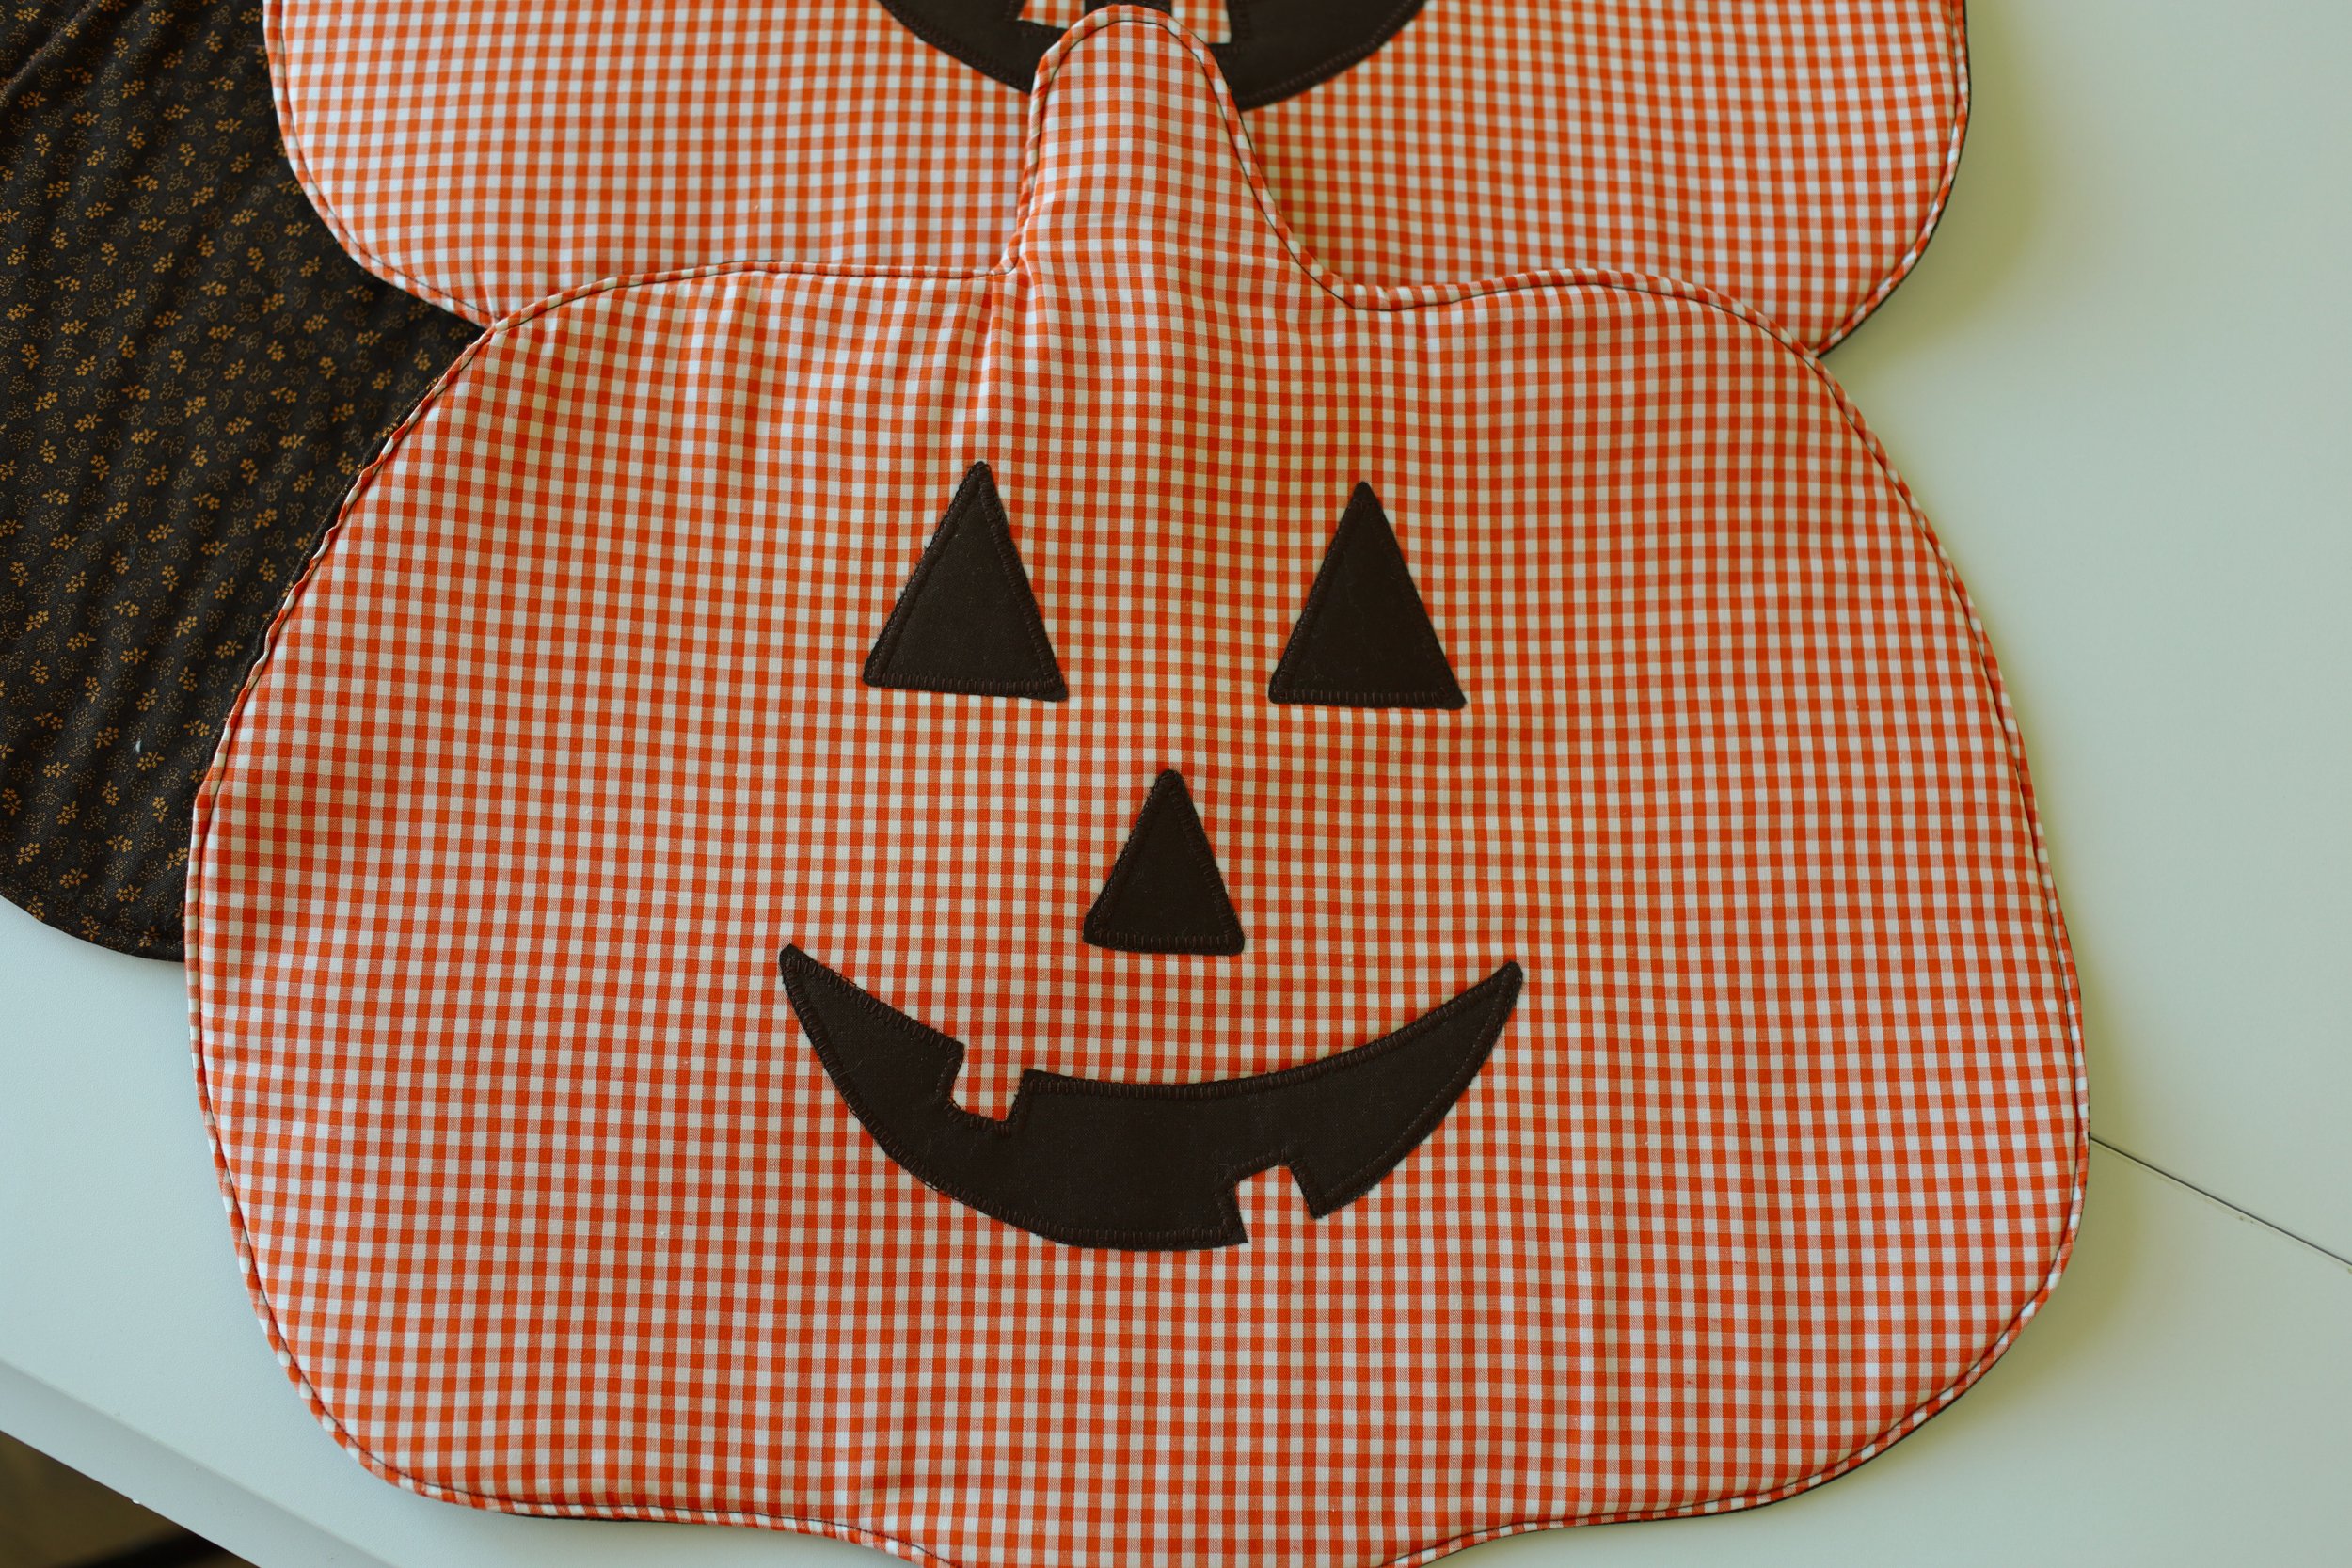
Instead of making separate placemats for fall and Halloween, I decided to make one that can easily transition between both seasons. One side is perfect for fall, while the other has a fun jack-o’-lantern face for Halloween. All I have to do is flip them over when October rolls around!!
I’m planning to use the simple brown “fall” side throughout September and November, then flip them over to the jack-o’-lantern side for October. I love that they feel festive without needing to completely change out the table decor every few weeks.
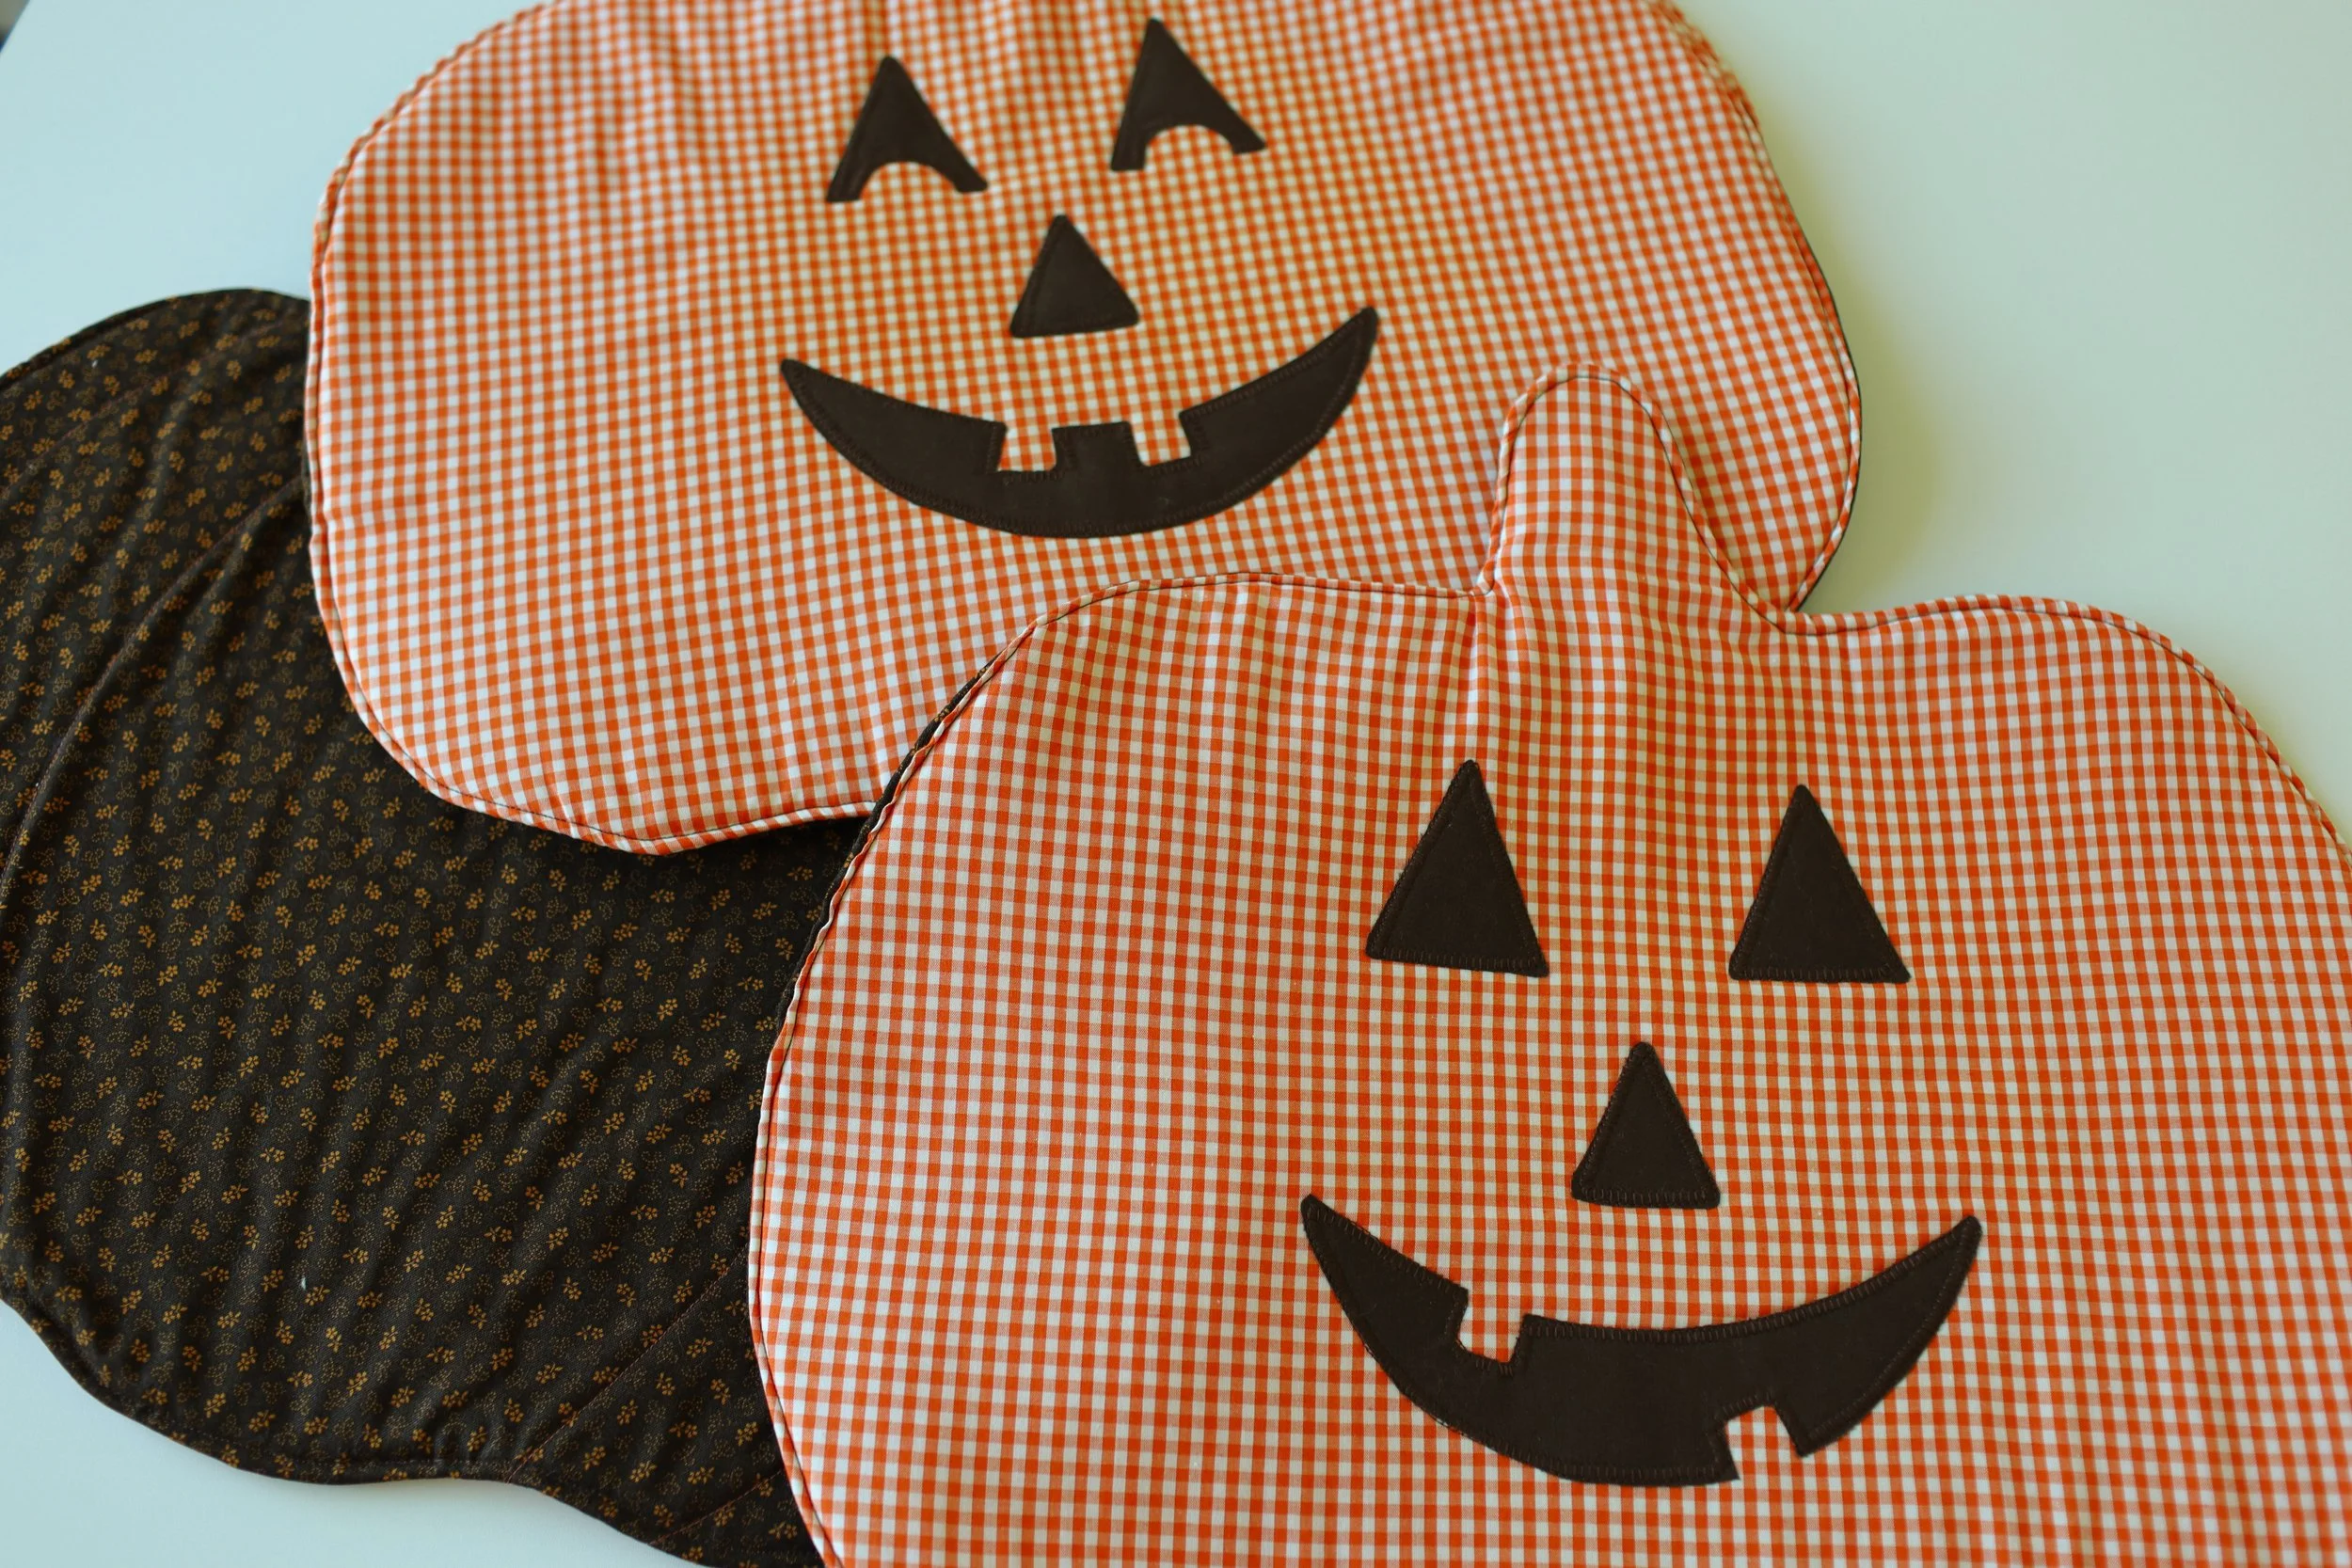
And the best part? This is a really simple sewing project! You don’t need to be an experienced seamstress to make these. If you’re newer to sewing, I think this is a great beginner-friendly project because the steps are straightforward and there’s plenty of room to make them your own.
You could change up the fabric colors, add different faces to the pumpkins, or even make a few for different seasons and holidays. They would also make such a fun handmade addition to a fall table or a cute gift for someone who loves to host.
One placemat, two seasons, and a whole lot of festive fun!!🎃
Below I’m sharing the simple step-by-step tutorial, including how I made the reversible pumpkin shape and added the jack-o’-lantern face. So grab your fabric and your sewing machine, and let’s make some!
Materials Needed:
2 yards of fabric (1 yard for each fabric)
1/4 yard fabric for pumpkin faces (leftover from other fabric)
2 yards batting
Wonder Under 805
Step 1: Create Your Pumpkin Template
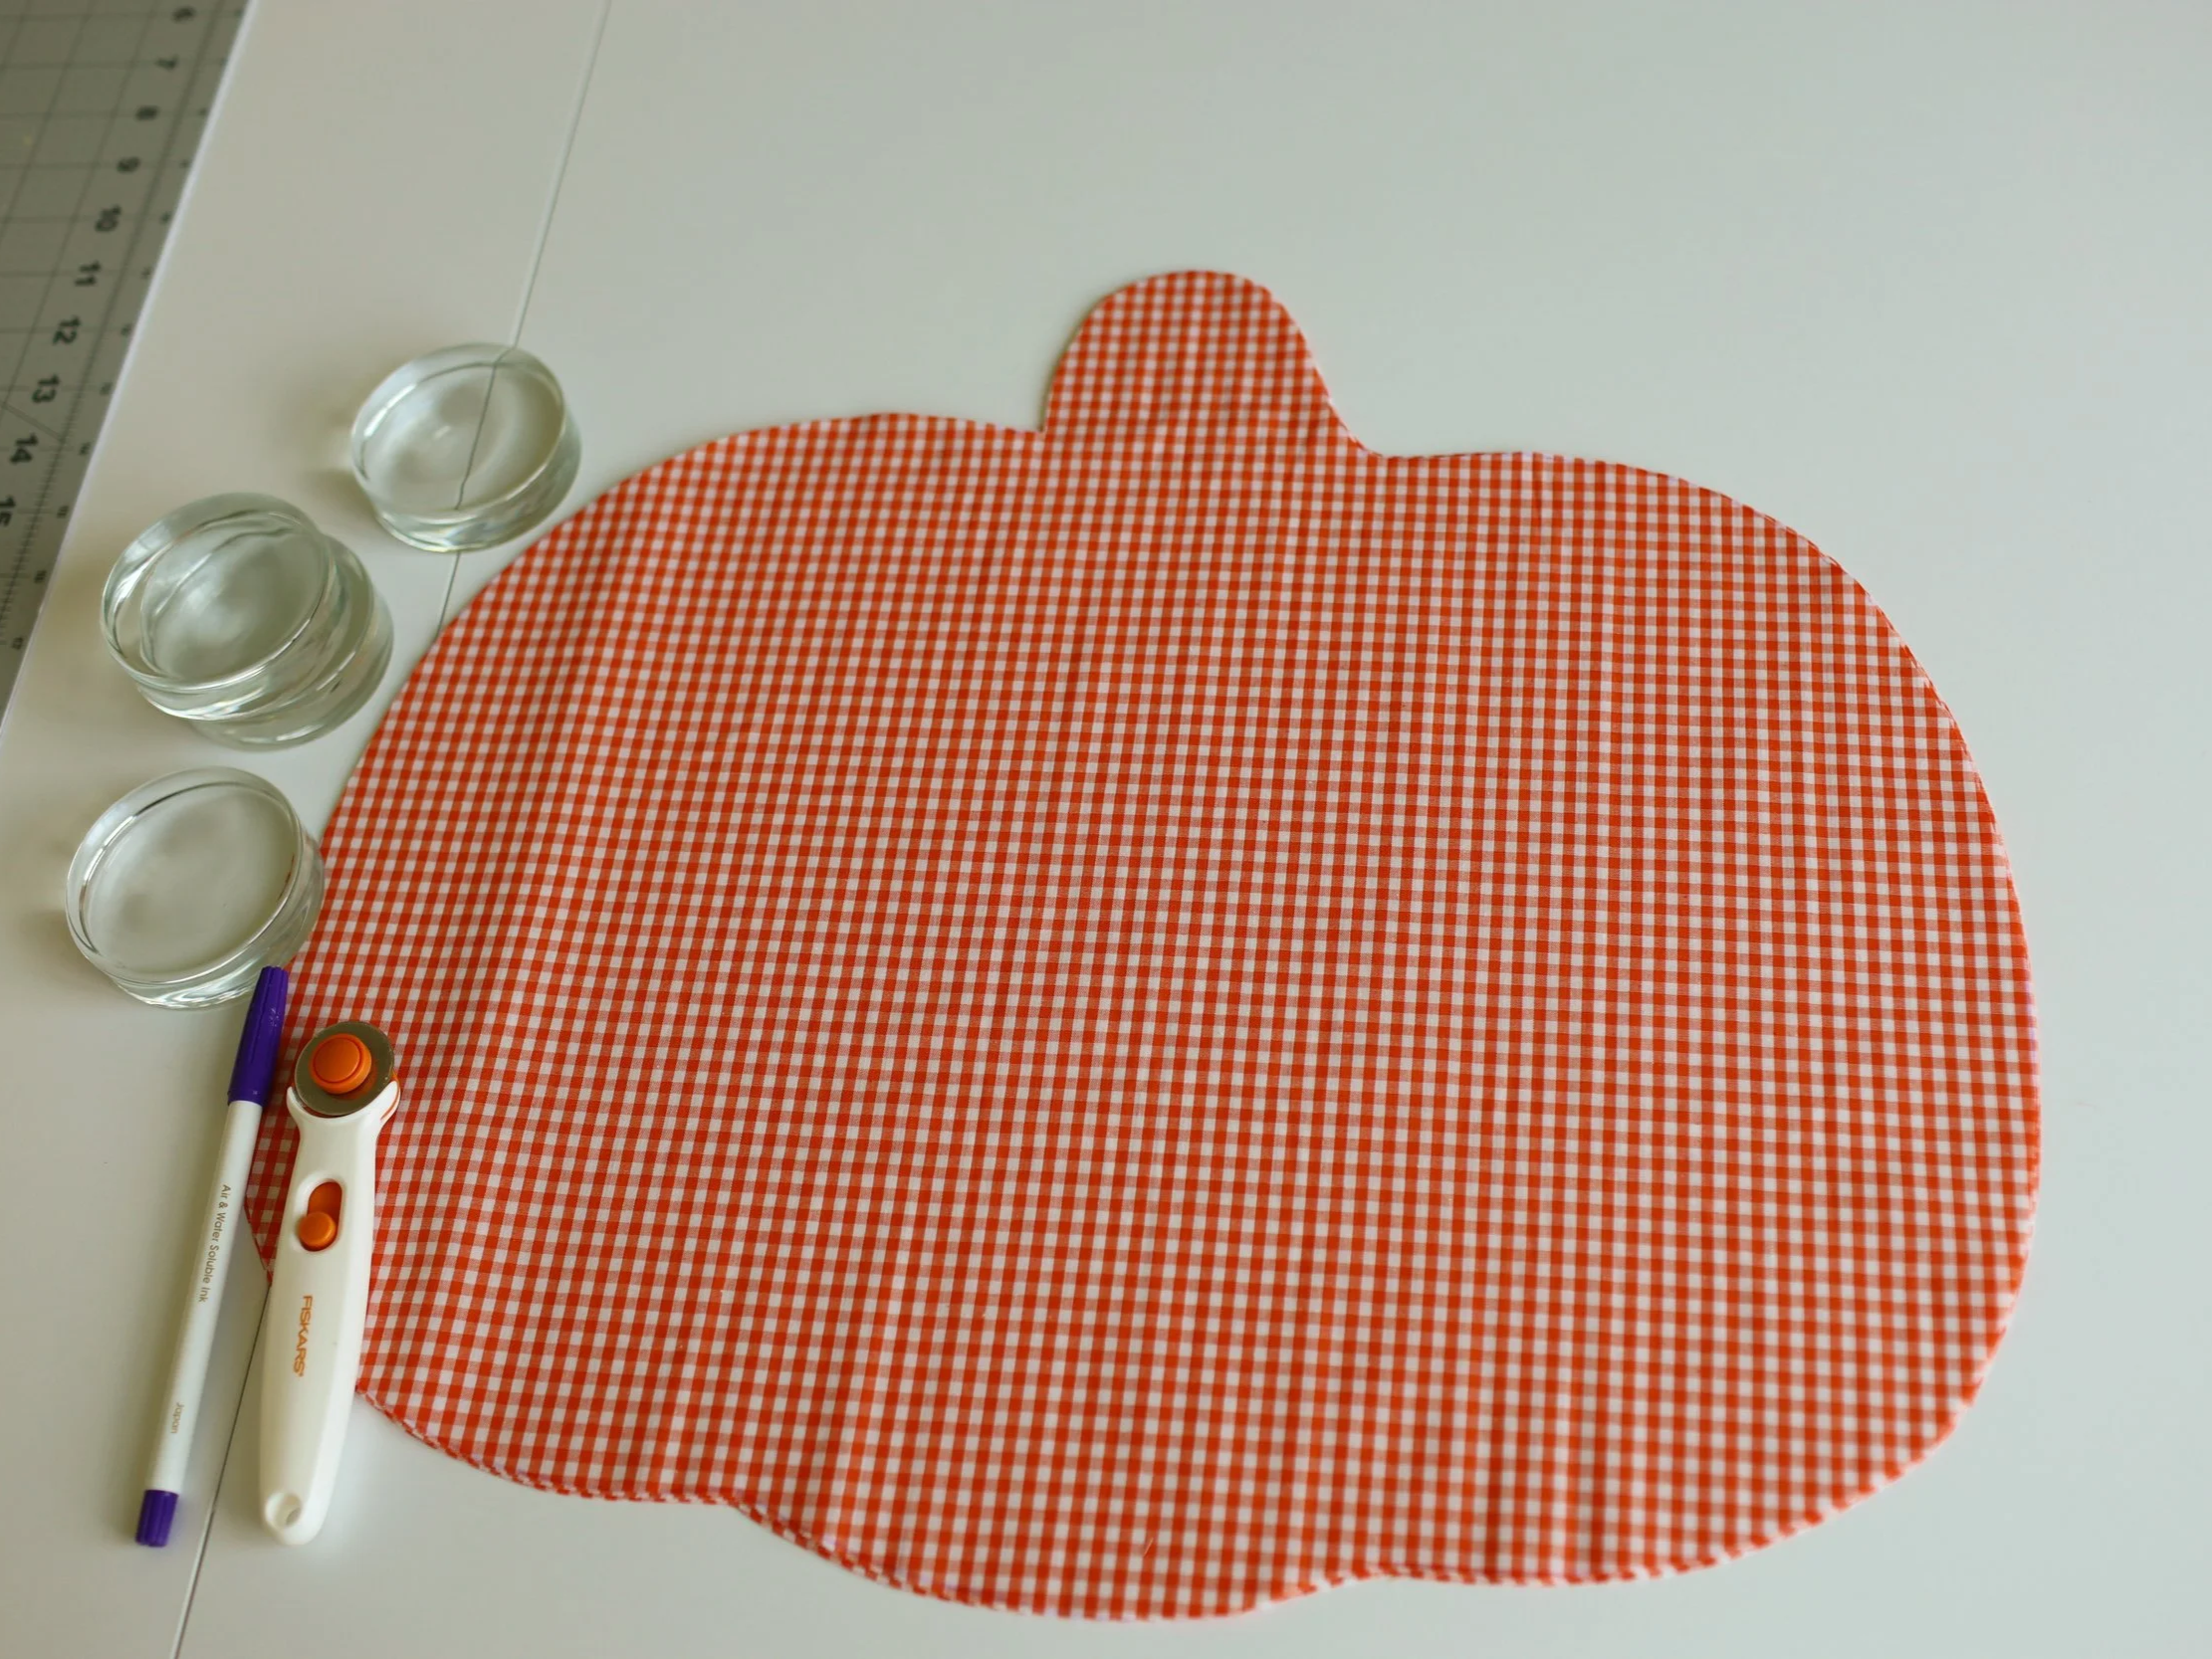
Start by drawing a simple pumpkin shape to use as your template. Your finished template should be approximately 18 inches (w) x 13 inches (h) without stem.
When cutting your fabric, remember to account for a 1/4-inch seam allowance.
You’ll need 8 pumpkin fabric pieces total — 4 for the fall side and 4 for the Halloween side.
A quick note about the pumpkin stems: Pay attention to which direction your stem is leaning when you cut your pieces. If the stem on your brown pumpkin pieces leans to the left, the stem on your orange pieces should lean to the right. This way, when you place the two fabrics right sides together, the stems will line up in the same direction.
If you want to make things easier, you can simply draw the stem straight up on your template and you won’t have to worry about reversing the pieces!
Step 2: Add the Batting
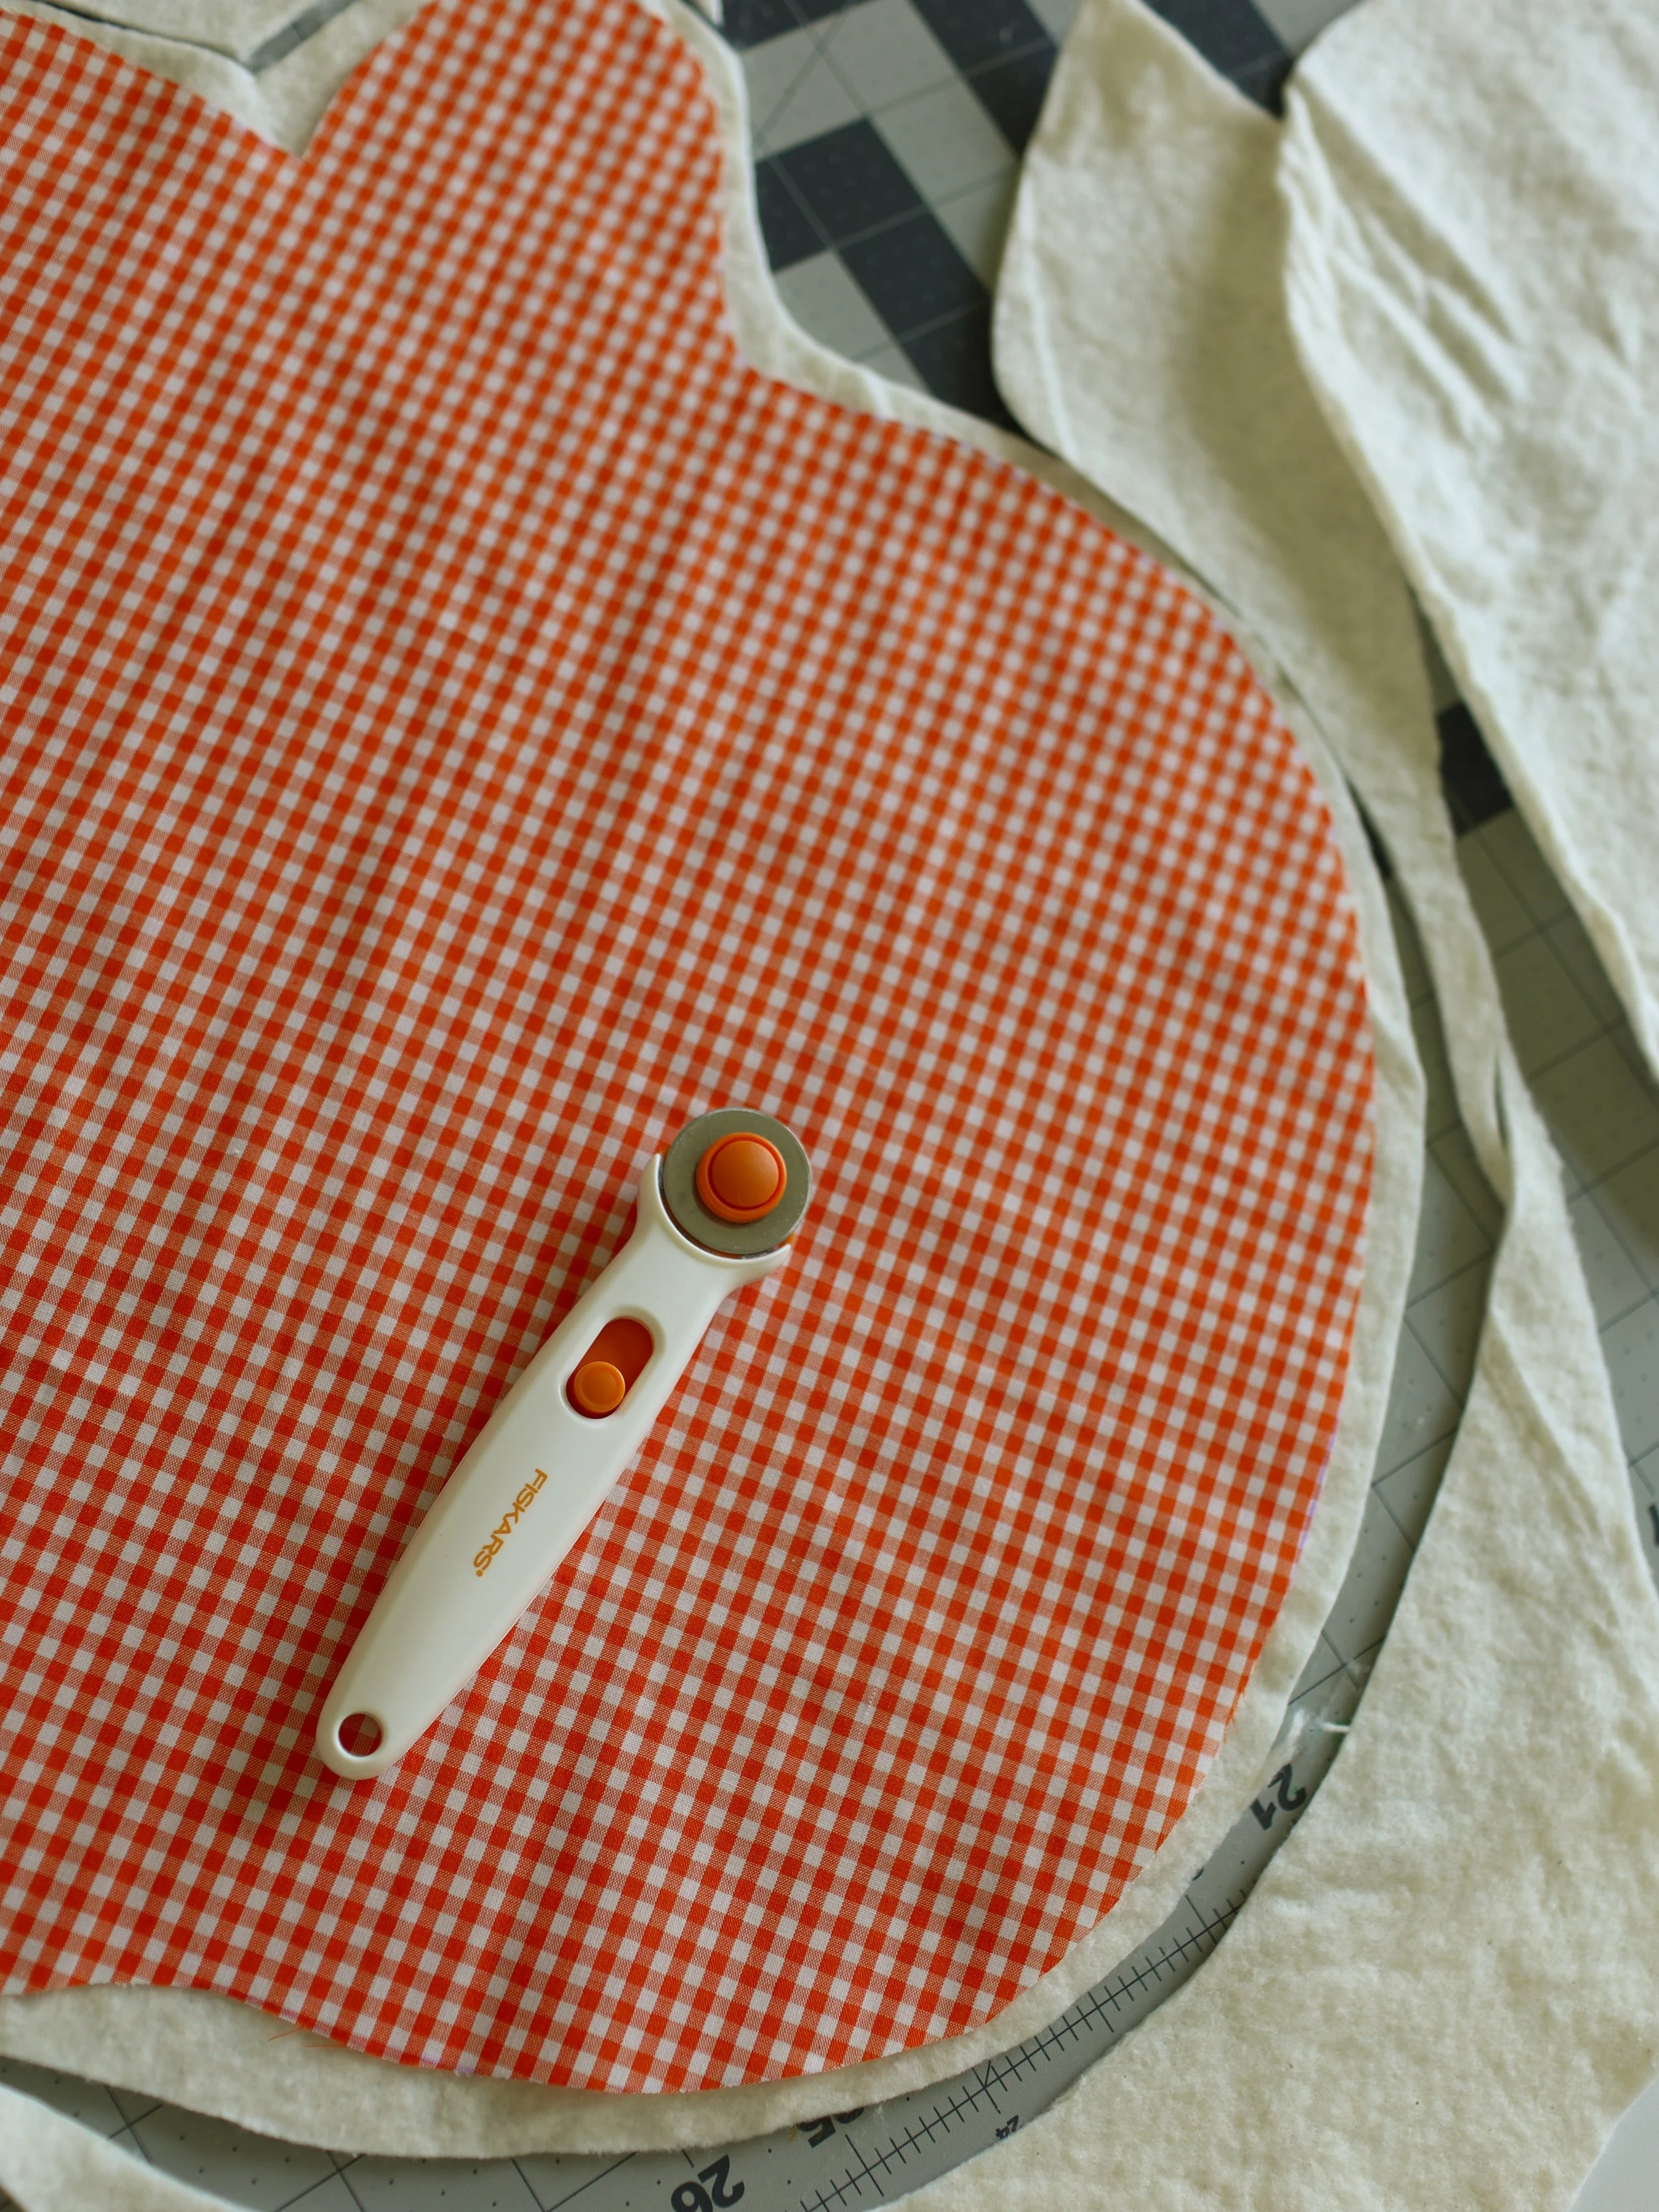
Place your pumpkin fabric pieces on top of your batting and roughly cut around each pumpkin, leaving about 1/4 inch of extra batting around the edges.
I like to leave a little extra around the pumpkin because the fabric can shift slightly while you’re sewing the batting to the fabric. It’s much easier to trim the excess later than to realize you don’t have enough!
You’ll need 8 batting pieces total.
Step 3: Make the Jack-o’-Lantern Faces
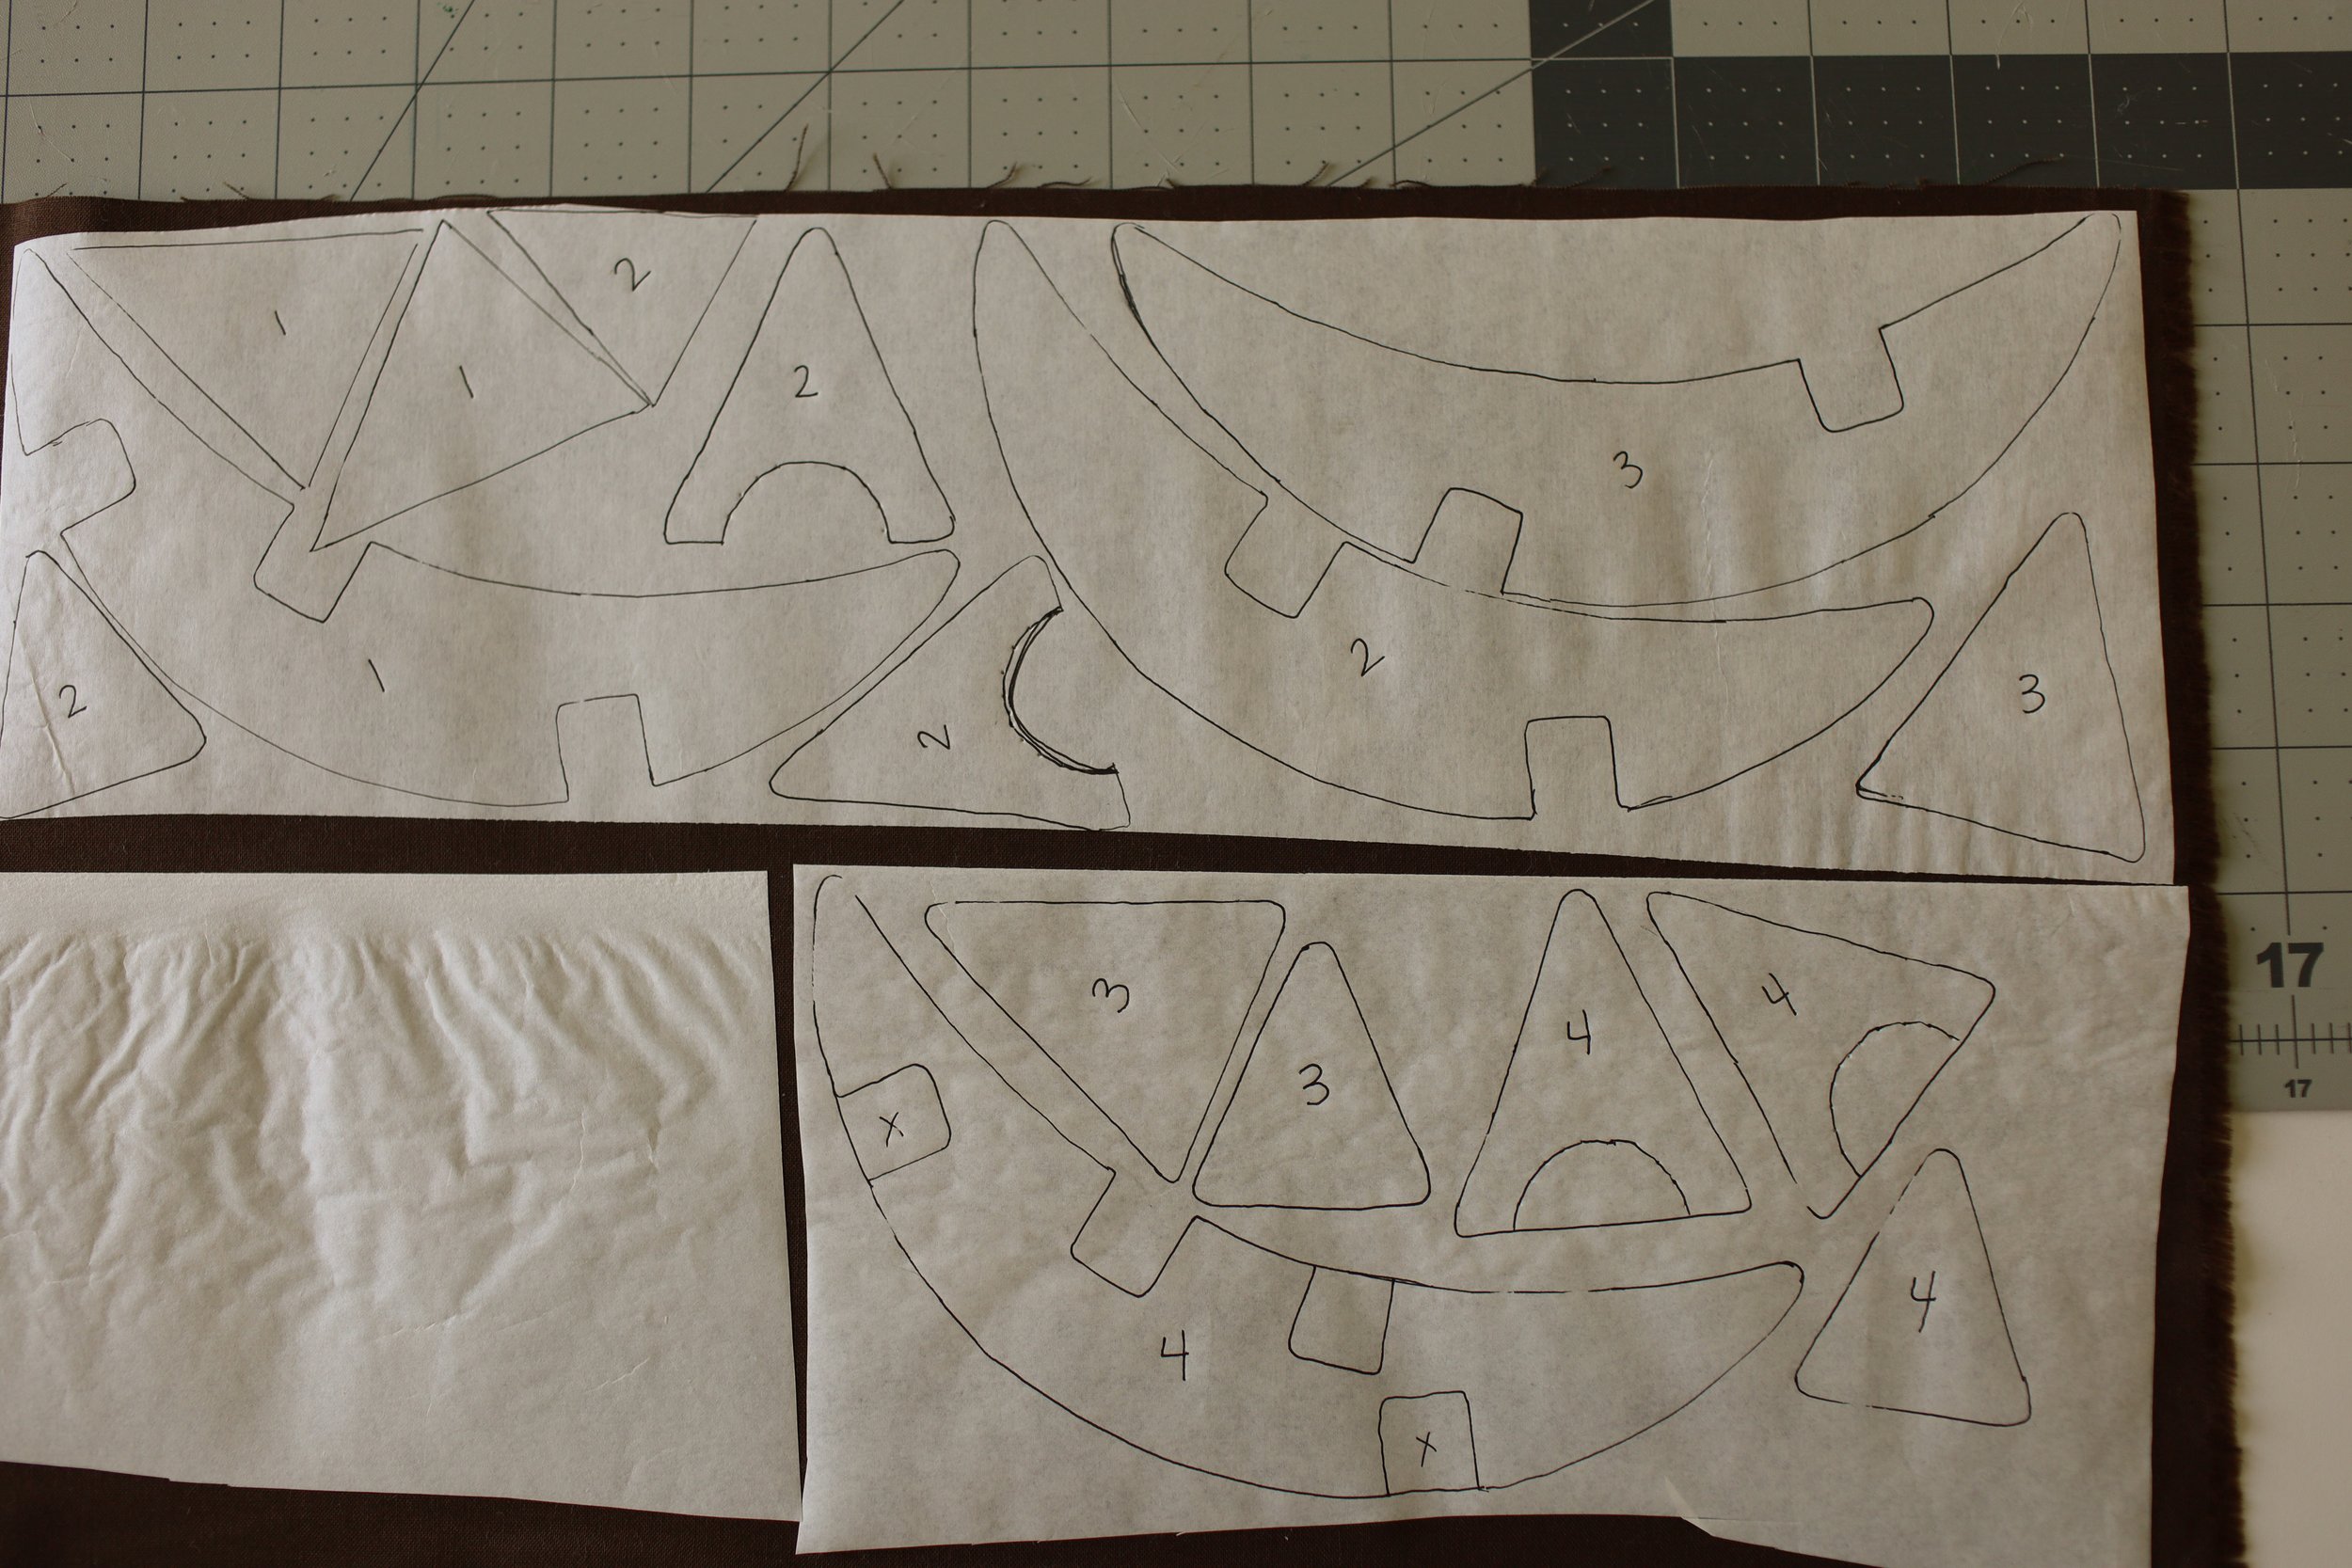
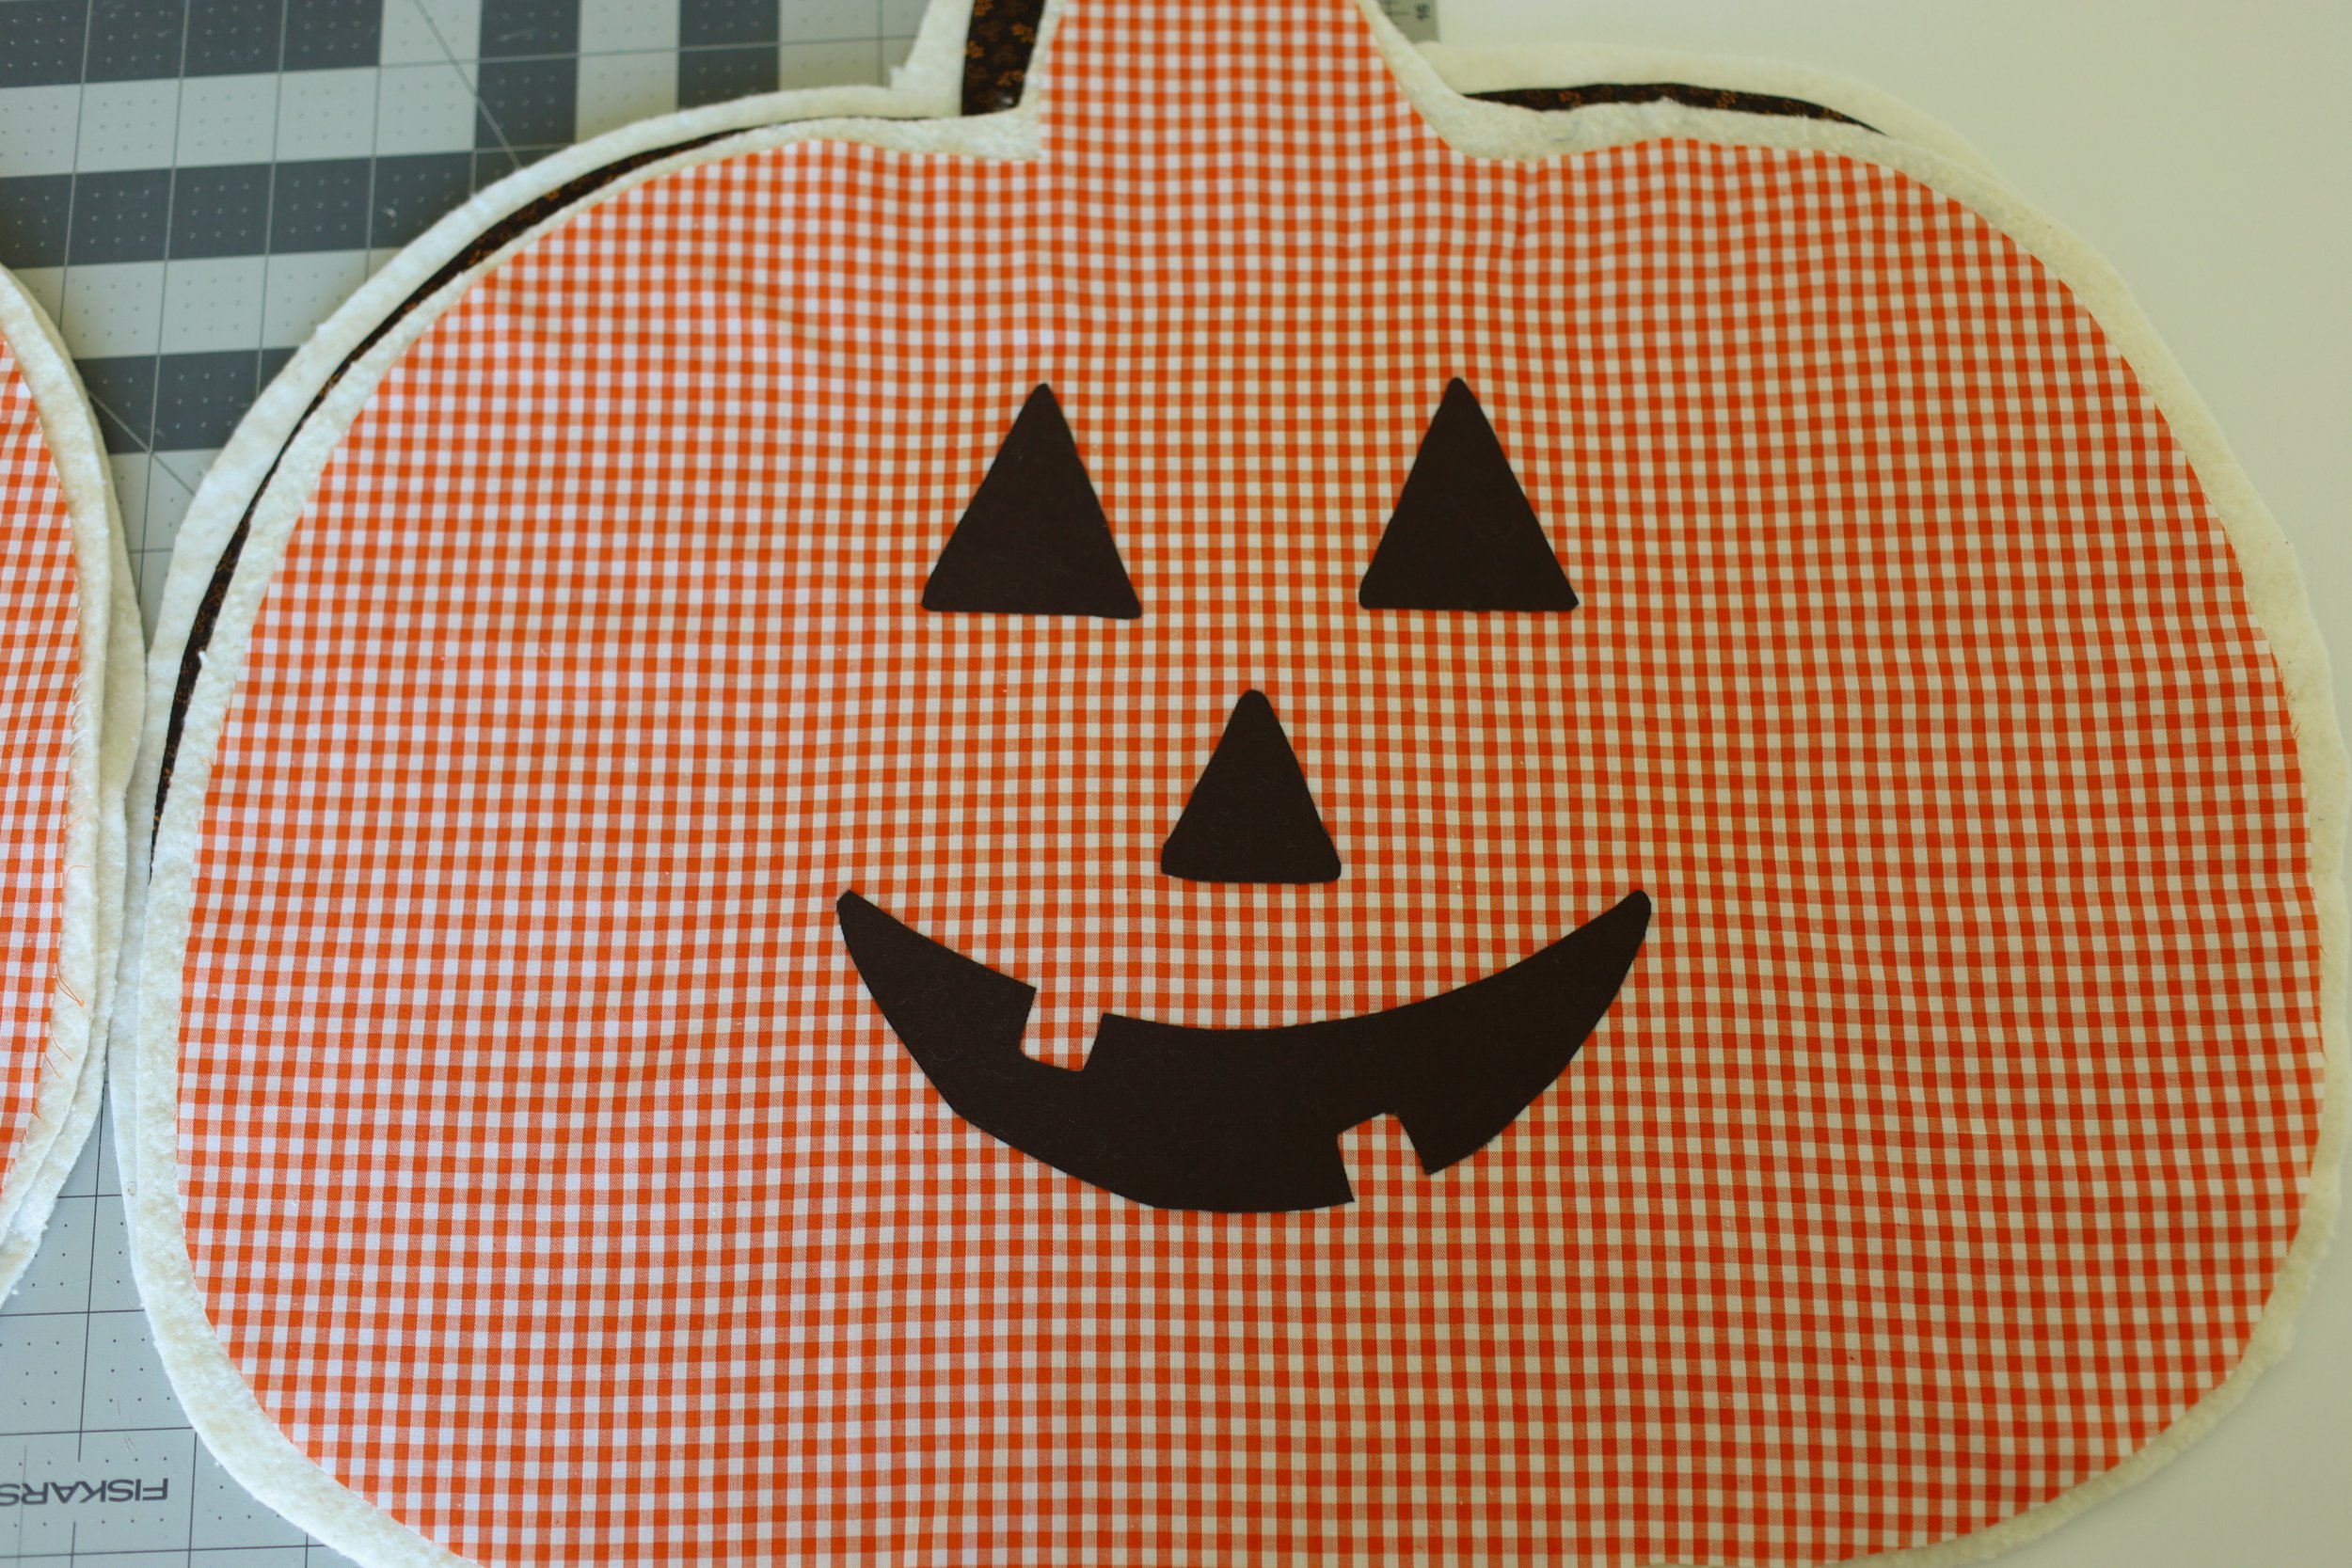
Now it’s time to add the jack-o’-lantern faces! You can use this free template to make cutting out the face pieces even easier.
Trace each face piece onto the smooth side of Wonder Under 805. Don’t cut the pieces out just yet.
Place the Wonder Under on the fabric with the bumpy/fusible side against the wrong side of your fabric and the paper side facing up. Iron for a few seconds, following the product instructions, until the Wonder Under has fused to the fabric.
Once it has cooled and fully fused, cut out each jack-o’-lantern face piece. Peel away the paper backing and arrange the pieces onto your pumpkin fabric. Iron the pieces in place to fuse them to the pumpkin.
Place the pumpkin with the jack-o’-lantern face on top of its batting piece. Use safety pins to pin the fabric and batting together so everything stays in place while you sew.
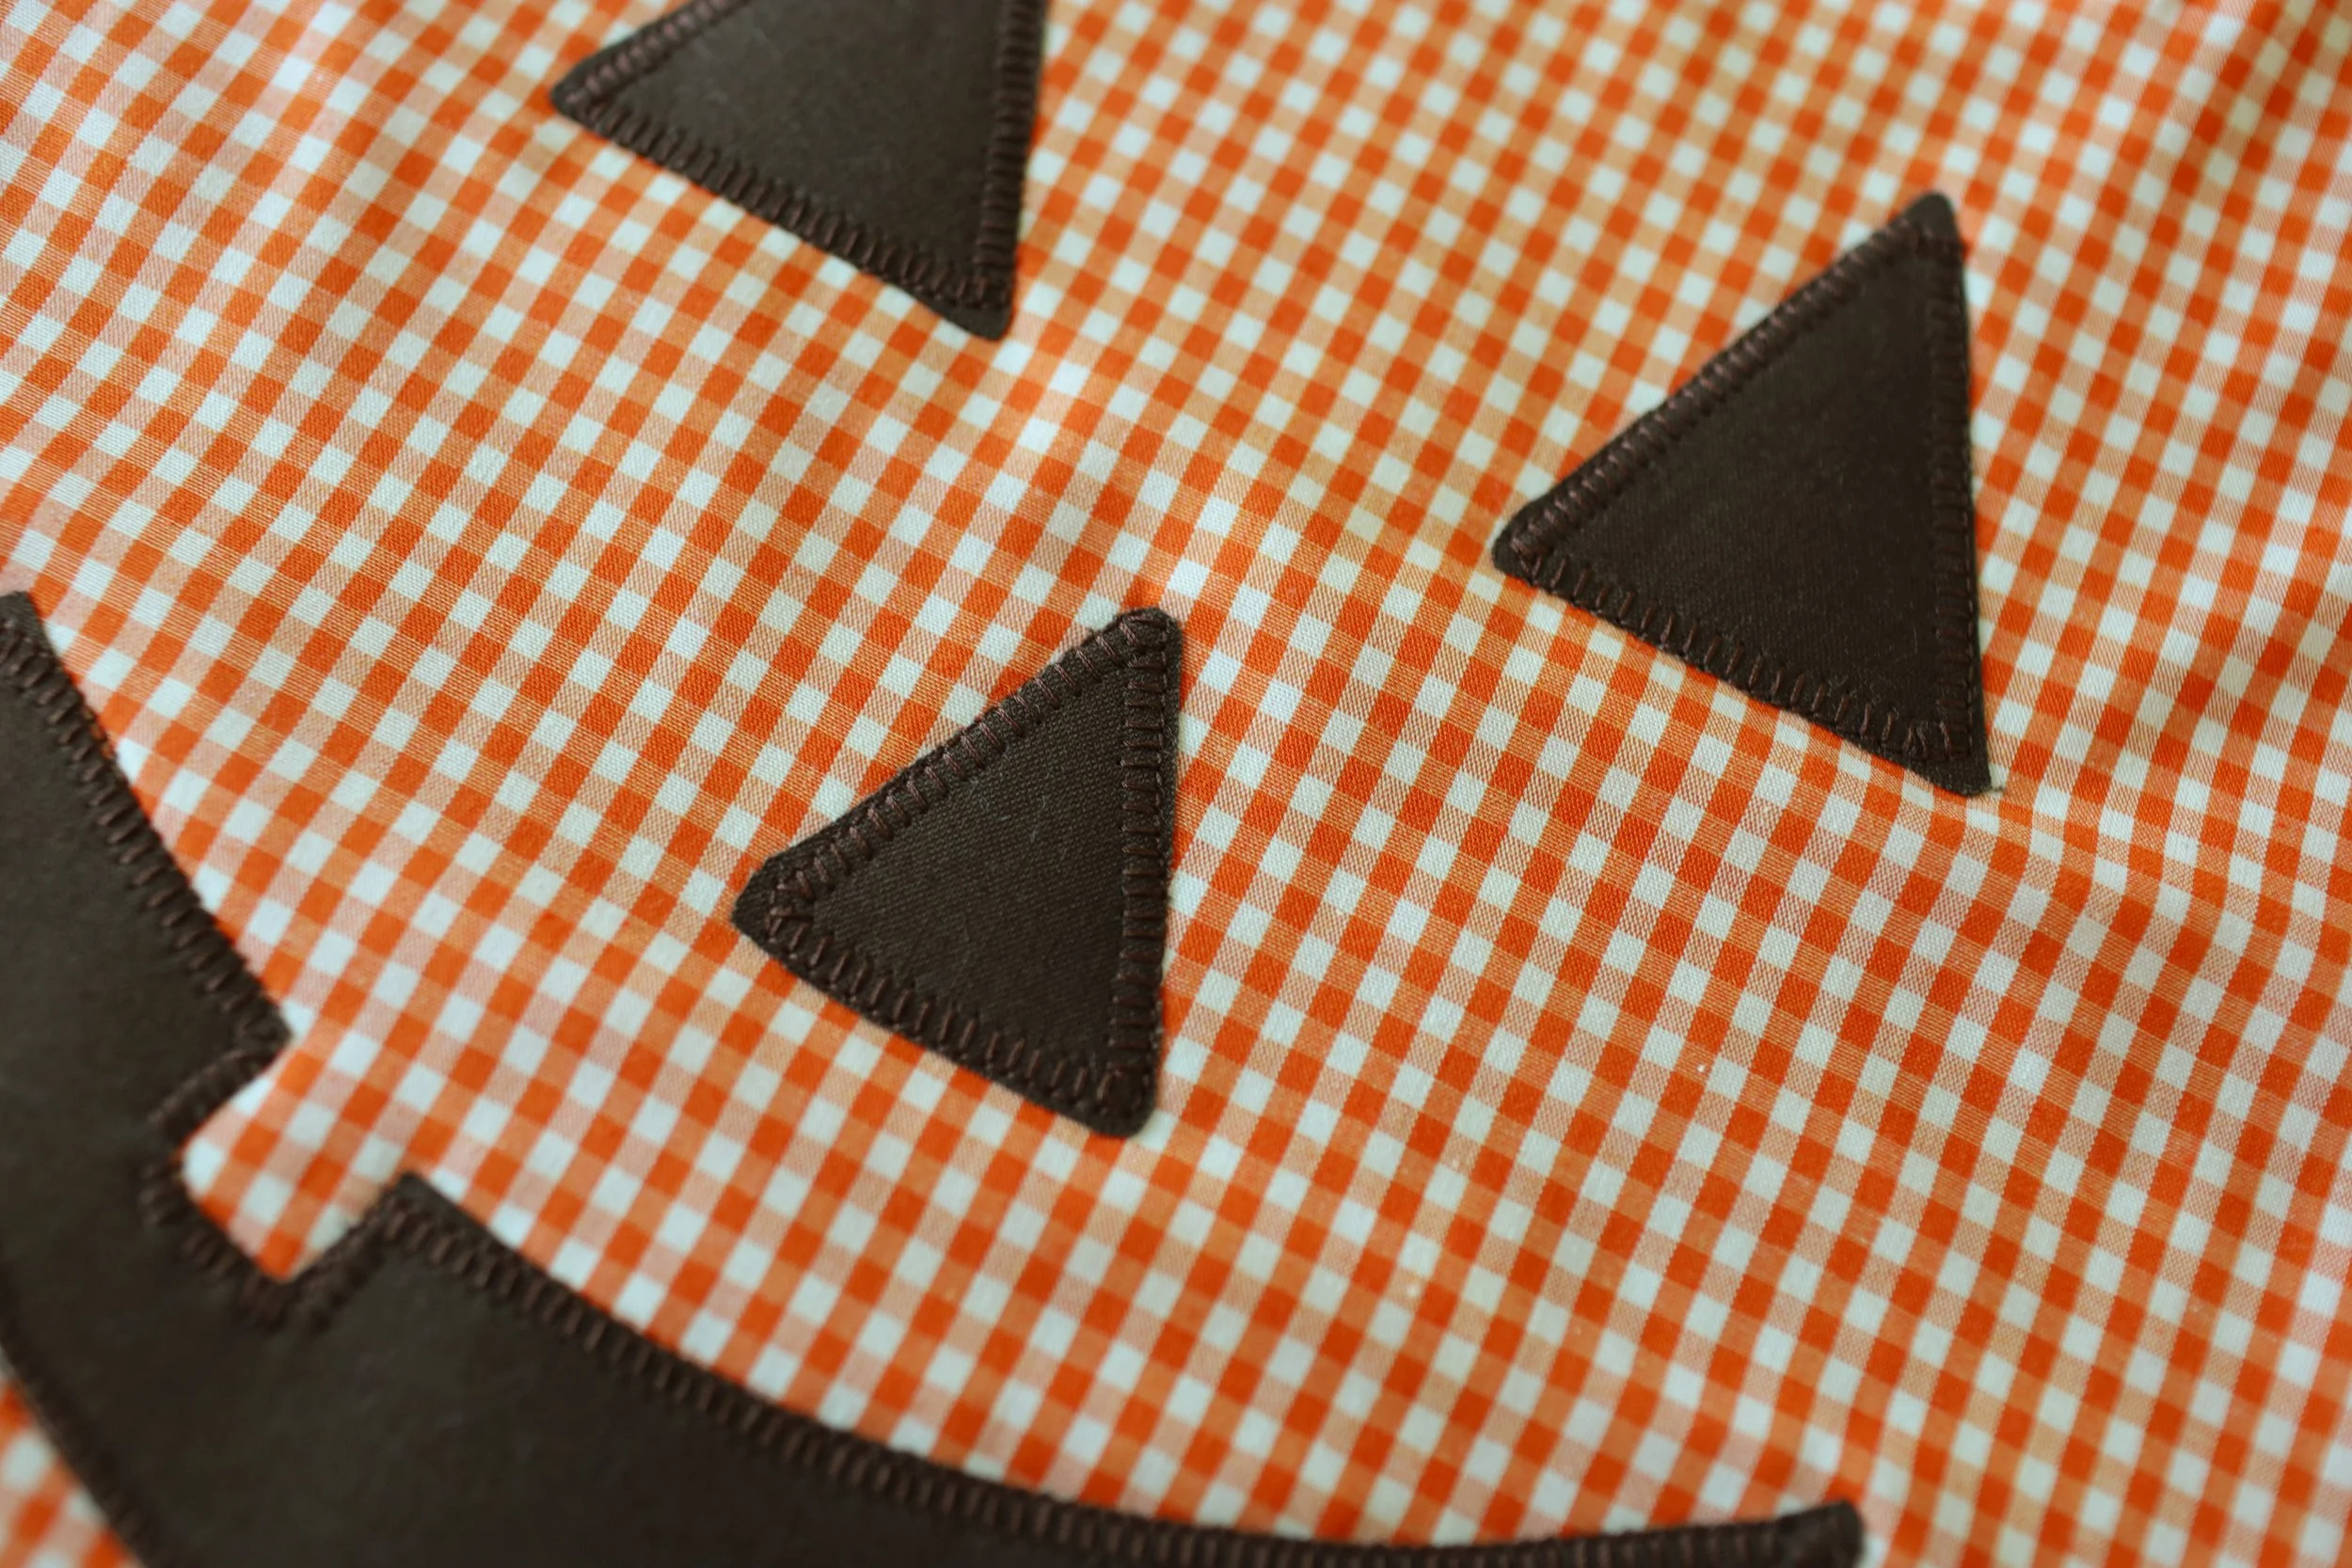
To help prevent the face pieces from fraying over time, sew around each piece. I used a blanket stitch on my sewing machine, but you can use whatever stitch you prefer. A zigzag stitch would work great, too!
Once you’re finished, trim any extra threads.
Step 5: Quilt the Fall Side
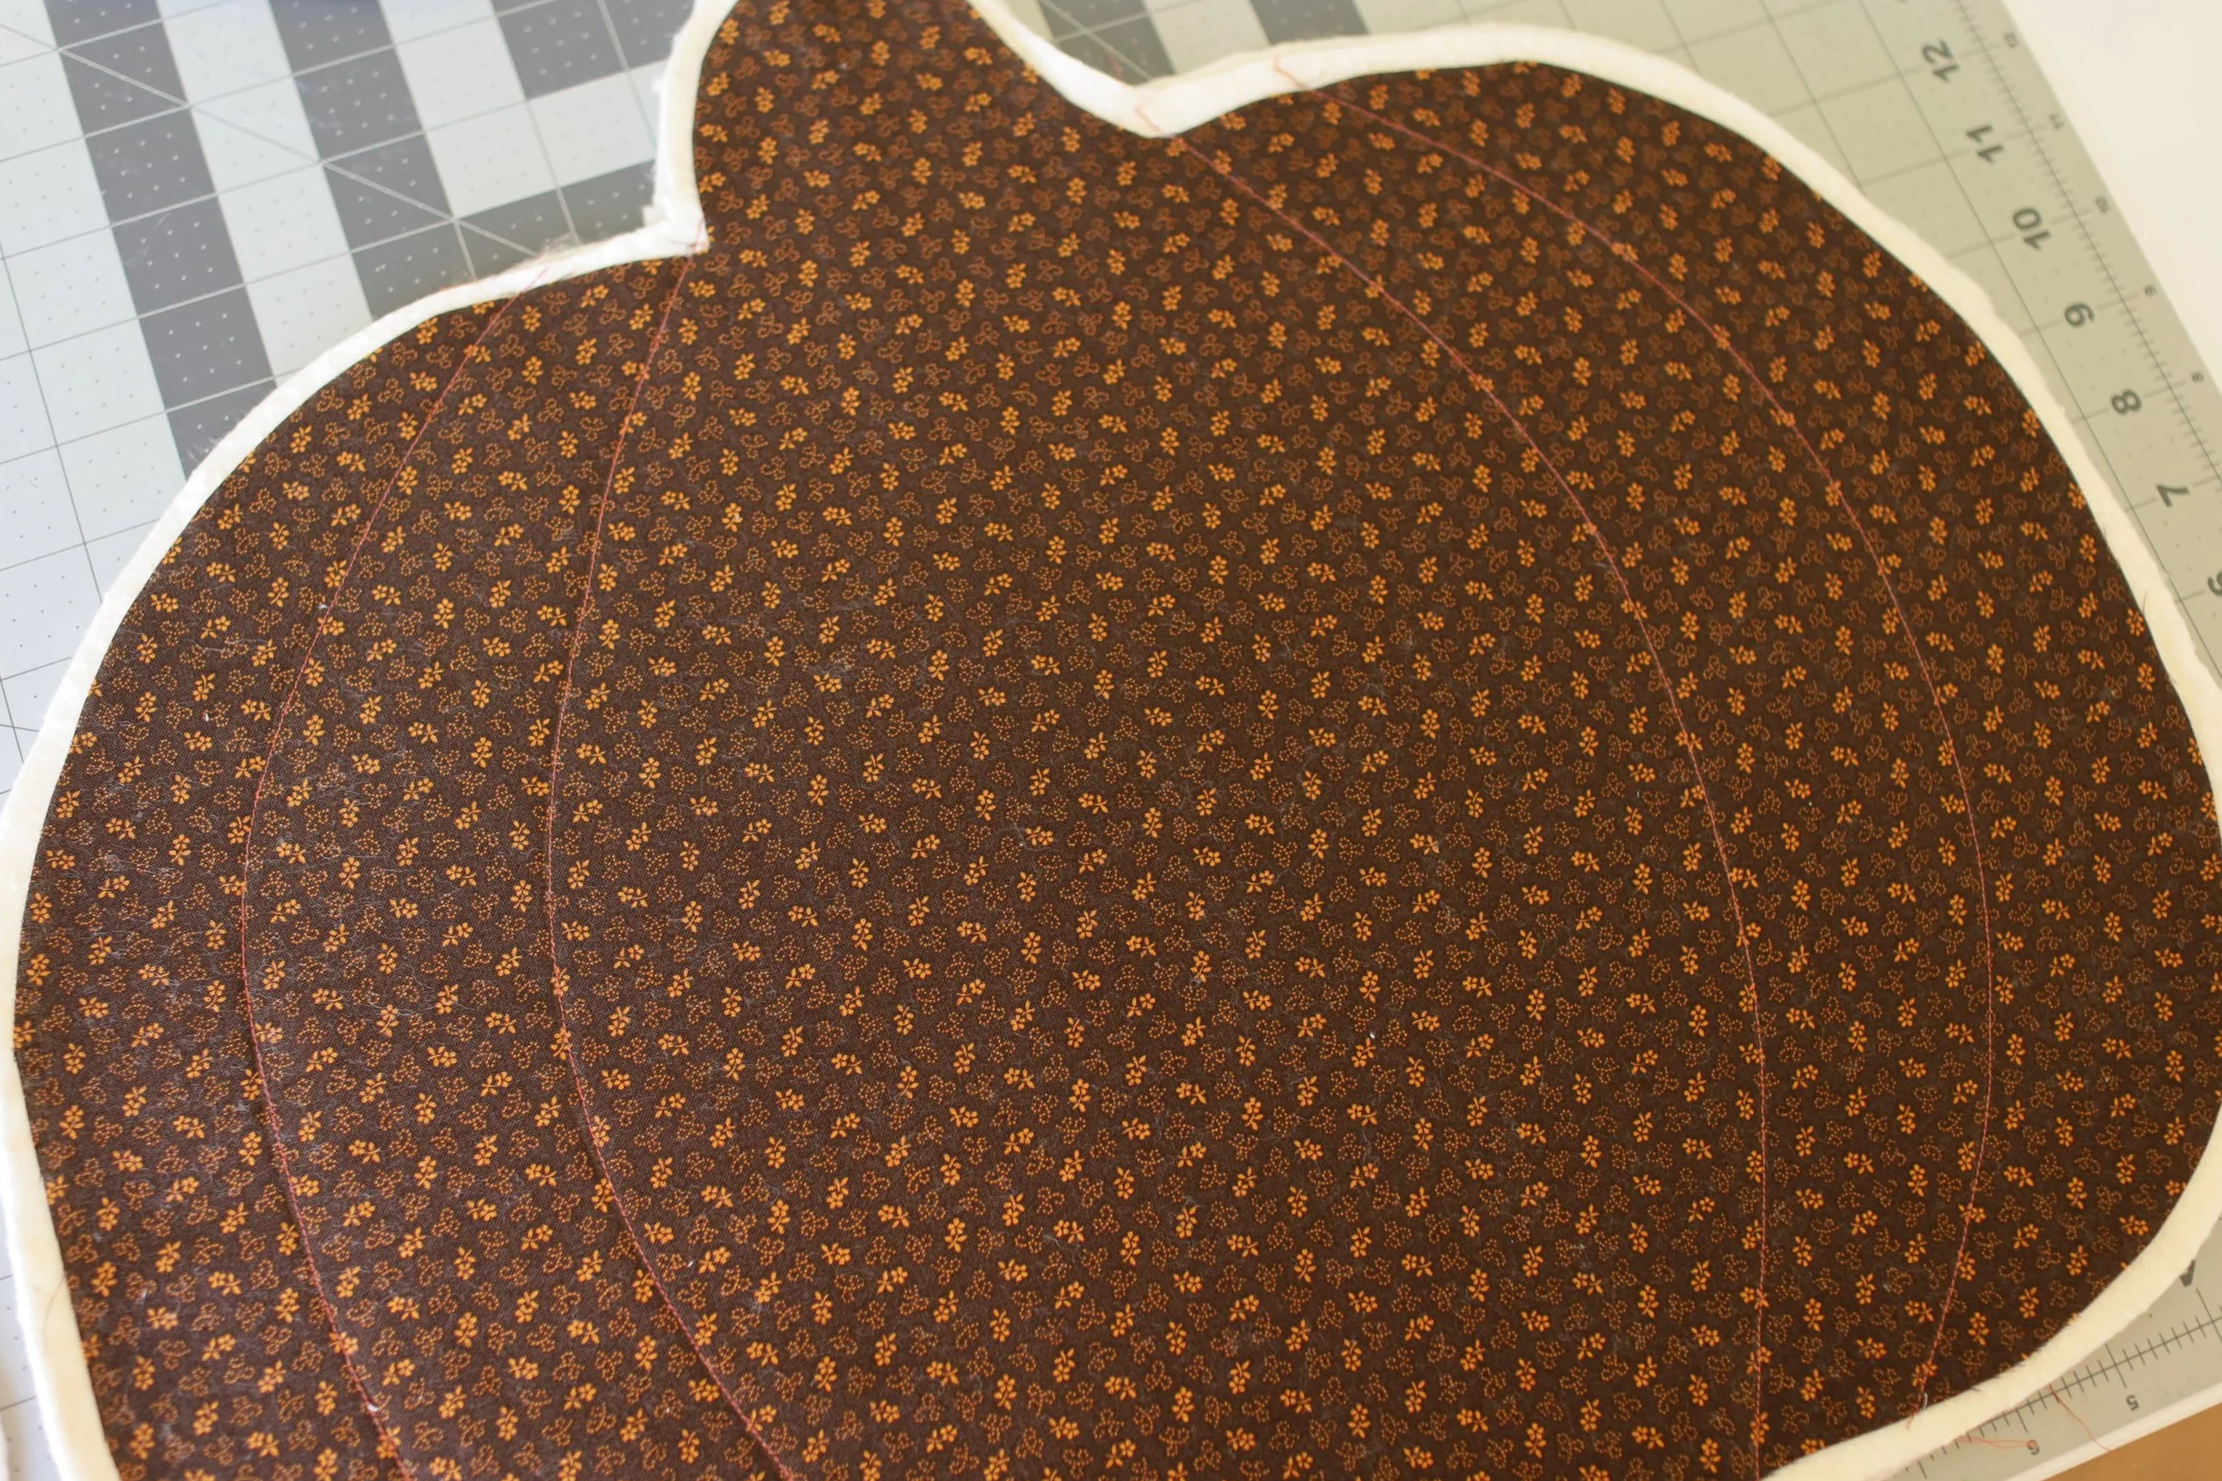
For the fall side, I used a Hera marker to mark the pumpkin lines directly onto the fabric.
I marked two lines on each side of the pumpkin, for a total of four lines per pumpkin. You could also get creative here and try parallel lines, diagonal lines, or even a simple grid pattern.
Once your lines are marked, place the pumpkin on top of its batting and use safety pins to hold the layers together.
Sew along the lines you marked with your sewing machine, then trim any extra threads.
Step 6: Sew the Two Sides Together
At this point, you should have 8 pumpkin pieces with batting attached — 4 fall pumpkins and 4 Halloween pumpkins.
Before putting them together, trim away any excess batting around the edges of each pumpkin.
Almost done!
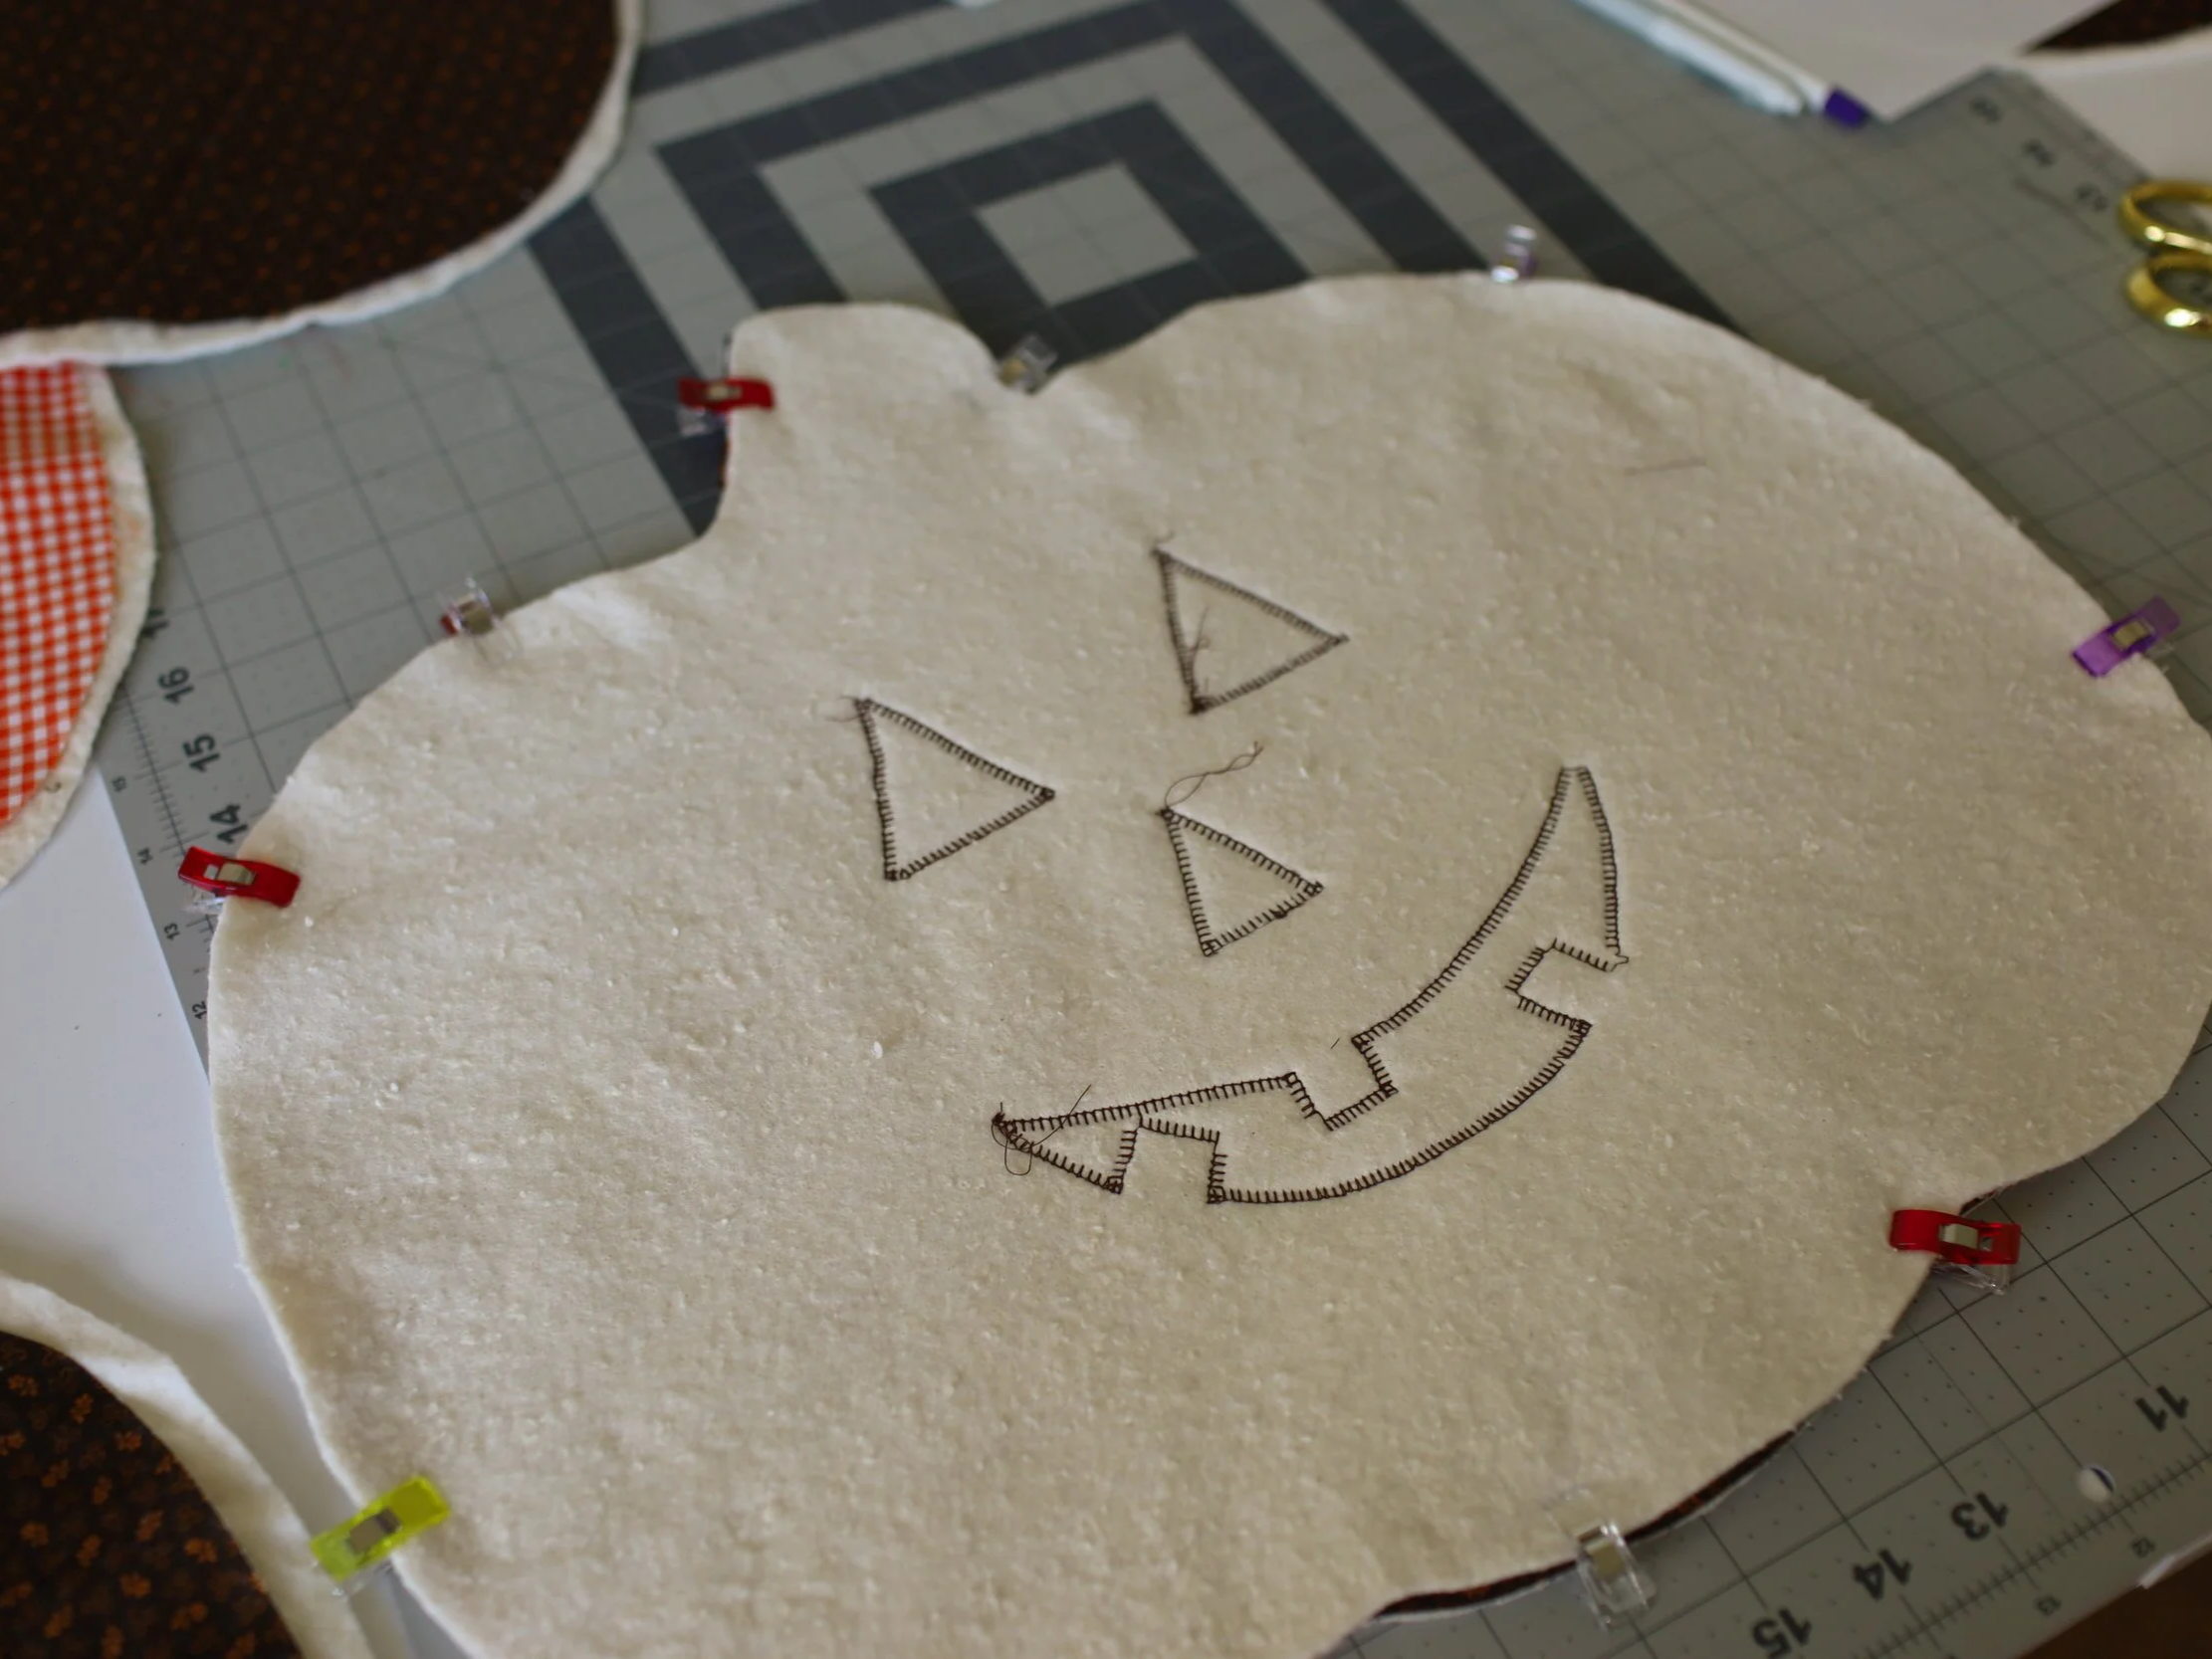
Place one fall pumpkin and one Halloween pumpkin right sides together. Sew around the pumpkin using approximately a 1/4-inch seam allowance, leaving about a 3-inch opening on one side of the pumpkin. This opening will allow you to turn the placemat right side out.
After sewing, trim away some of the excess batting and fabric close to the stitch line, especially around the curves. This will help reduce bulk and make it easier to get a smooth pumpkin shape when you turn it right side out.
Be careful not to cut into your stitches!
Step 7: Turn, Topstitch & Finish
Using the opening you left, carefully turn the pumpkin right side out. Use your fingers or a blunt tool to gently push out the edges and curves of the pumpkin.
Fold the raw edges of the opening inward and use clips to hold them in place.
Finally, topstitch all the way around the pumpkin, which will close the opening and give your placemat a nice finished edge.
Trim any remaining threads and you’re done!